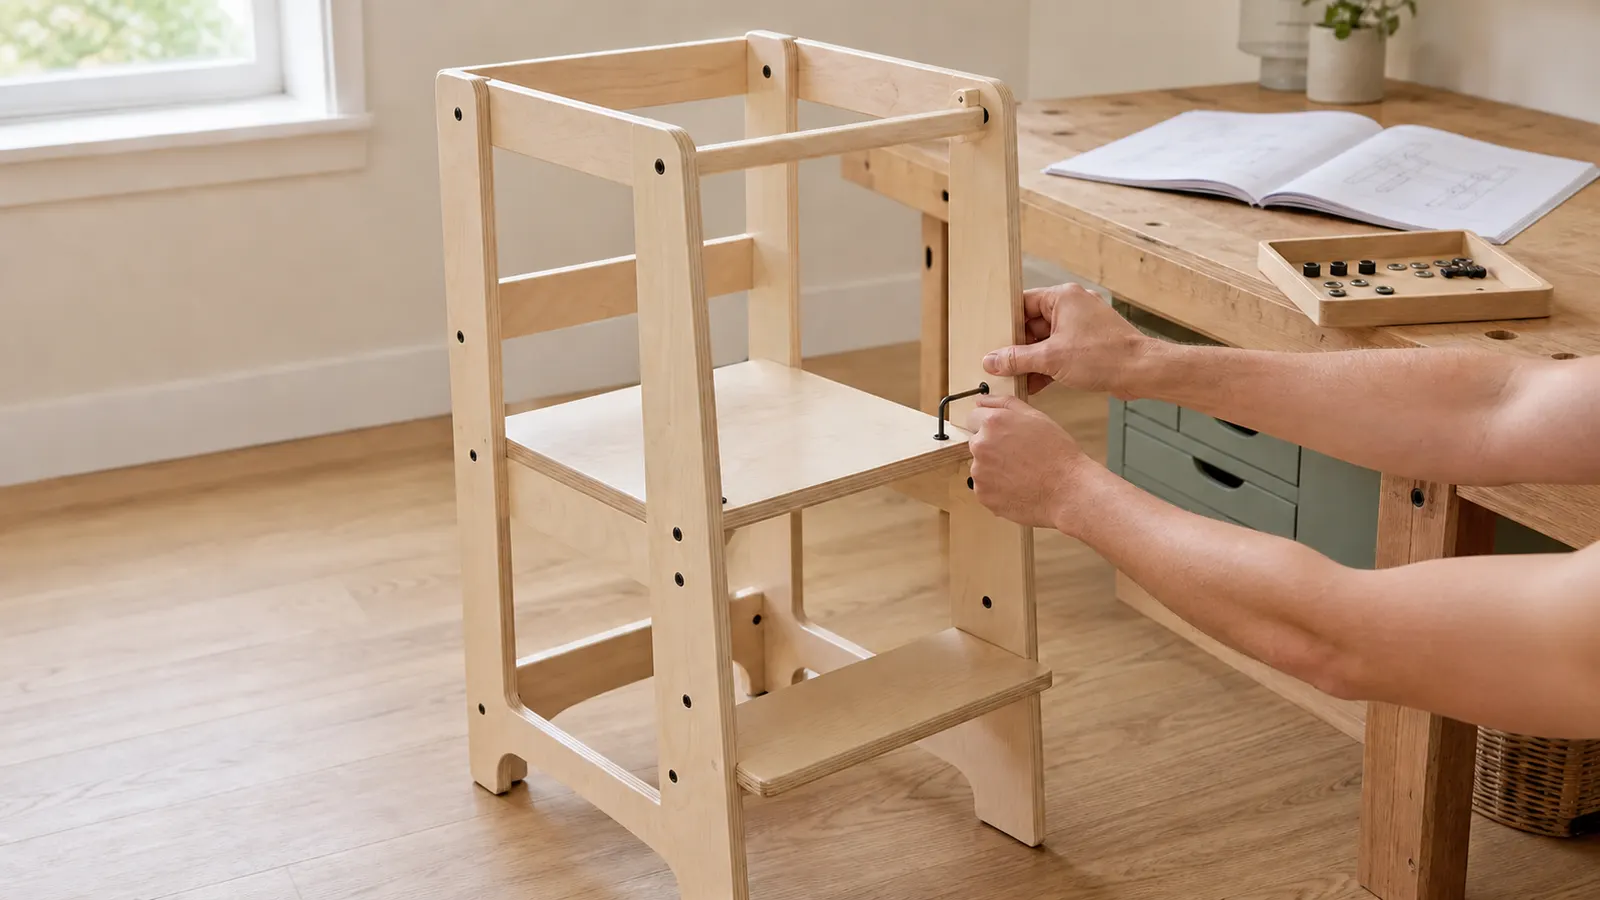
There is no safe universal toddler tower assembly sequence. Start with the physical model, item, revision, lot or date code, and the current manufacturer manual that matches them. Keep the child out of the workspace, inventory every part and fastener, follow the printed order without substitutions, then inspect and operate the complete empty tower before the child approaches. If the exact manual is missing or any identity, part, hole, fastener, guard, platform, foot, latch, or conversion state is unresolved, stop assembly and contact the manufacturer.
Stop before first use when any gate fails
Identity mismatch
The physical item, revision, lot, date code, region, manual, or recall scope cannot be reconciled.
Part mismatch
A panel, platform, guard, foot, control, fastener, tool, or accessory is missing, damaged, or substituted.
Assembly mismatch
Parts need force, holes disagree, the platform is not fully supported, or a control will not engage completely.
Empty-product mismatch
The tower rocks, twists, exposes a sharp edge, blocks supervision, or cannot reach one complete usable state.
Manual coverage and model-specific assembly gates
This receipt is generated from the selected 25-model catalog. It shows exact manual coverage, confirms that every selected foldable or convertible model has a linked manual, and keeps the one unresolved manual visible. Each example links to the real manufacturer document and uses an enlargeable product image.
- Selected model records
- 25
- Exact model or family manuals
- 24/25
- Foldable or convertible manuals
- 16/16
Match the physical label, item, revision, product family, and current manual before opening hardware.
Inventory every panel, platform, guard, step, foot, fastener, tool, and accessory against the exact list.
Complete every fastener, lock, guard, platform, and placement check before the child approaches.
Foldable tower
The manual shows the sides folding out, the platform folding down, Clip A locking the platform, and Clip B adding stabilization.
Do not let the child enter until the platform and both documented clips are in their required usable state.
Guidecraft Kitchen Helper assembly instructionsFoldable tower
The parts list identifies the step, standing platform, two side handles, two handle bars, and two back bars.
Inventory every named component, then completely unfold and fully lock the empty tower before use.
Piccalio Foldable Helper Tower assembly manualFixed or standard tower
The R4 manual documents seating and locking the ladder, installing the Guard Plate, and engaging the twist-lock dowel.
Match the physical R4 product and included guard parts before choosing a setup for the child's current height.
Sprout Sous-Chef Toddler Tower R4 assembly and safety guideFixed or standard tower
The manual publishes three platform positions secured with four 4 mm hex screws and requires the leather rear strap to face outward.
Confirm all four platform screws, the strap orientation, the level floor, and placement against a counter or solid surface.
Franklin+Emily Toddler Tower assembly and care instructionsConvertible tower
The manual illustrates the removable guard in tower mode and documents the separate tower, table, and folded states.
Complete the exact tower-mode conversion while empty and verify the guard position before the child approaches.
Ingenuity Table-to-Tower 2-in-1 Step Stool owners manualConvertible tower
The Training Tower is an accessory installed on a compatible current-generation Lemo Chair, with the chair footrest serving as the standing platform.
Verify the chair article-number family, install the protective ring, and set the footrest by the exact accessory instructions.
CYBEX Lemo Training Tower Set user guideStepup Baby® Adjustable Toddler Tower is the one selected model without a linked exact manual. Its product page does not replace assembly instructions. Manual coverage does not prove correct assembly, stability, or hands-on performance. Sources checked July 20, 2026.
The short answer: clear three gates before first use
Gate one is identity. Match the physical product, model or item number, revision, lot or date code, product family, and region to the current manual and recall record. Gate two is assembly. Inventory every exact part, follow the manual's order, install the documented platform, guard, entry control, feet, stabilizers, fasteners, and accessories, and complete every lock or conversion step while the product is empty.
Gate three is the empty-product first-use check. Place the tower exactly as its manual requires on the documented floor type, inspect every joint and floor contact, operate each permitted adjustment or mechanism, apply only the empty checks the manufacturer describes, and photograph the completed setup. A child enters only after all three gates pass without a missing field, improvised part, unresolved movement, or recall conflict.
Match the box and physical label to the manual
Do not start from a retailer title, marketplace photo, or similar brand model. Photograph every label on the product and packaging before assembly. Record the marketed name, model or item, SKU, revision, lot, date code, finish, included accessories, region, seller, and purchase date. Save the exact manual file and source URL beside those photos.
Check the official recall record before opening hardware. A model name alone may be insufficient when the notice uses item, lot, production-date, sale-window, or remedy conditions. If a current product shares a name with a recalled family, reconcile the physical label first. Do not assemble through a stop-use notice or assume new inventory is outside scope without the exact identifiers.
Prepare a controlled assembly workspace
Keep children and pets out of the room. Use a clean, dry, well-lit area large enough to lay out every part without stacking or leaning panels. Protect the finish with the surface method allowed by the manual, while keeping screws, washers, caps, dowels, clips, straps, and small packaging pieces inaccessible to children.
Do not use the final kitchen location as a cramped assembly shortcut if doors, drawers, appliances, traffic, or the counter block your view of the joints. Keep food and liquids away. Maintain one container for unused exact hardware and a separate one for packaging so a fastener cannot be thrown away with cardboard or mistaken for a spare.
Inventory parts before joining anything
Lay every panel, rail, step, platform, guard, strap, dowel, foot, stabilizer, hinge, latch, clip, tool, fastener, washer, cap, and accessory beside the manual's parts diagram. Count each size separately. Compare holes, slots, grooves, labels, left and right orientation, finish, and preassembled components. Photograph the complete layout.
Stop for a missing, duplicate, damaged, split, bent, stripped, corroded, swollen, misdrilled, or unlabeled part. Do not borrow hardware from another product or treat an extra fastener as permission to omit one. Piccalio's reviewed foldable manual, for example, names the step, standing platform, two side handles, two handle bars, and two back bars. That exact list is more useful than a generic tower diagram.
Follow the manufacturer sequence without adding a universal shortcut
Keep the manual open and complete one numbered step at a time. Confirm the part letters, fastener size, direction, orientation, and tool before starting the next joint. If the manual says to leave a connection loose temporarily, do that. If it says to secure a joint before continuing, do that. No single loosen-first or tighten-first rule can override the exact sequence.
Thread fasteners by hand where the manual permits so cross-threading or a mismatched hole becomes visible before force is applied. Use only the supplied or specified tool. Do not use an impact driver, power drill, extension, adhesive, lubricant, threadlocker, or added bracket unless the exact instructions require it. Stop when parts need force to align or the diagram and physical unit disagree.
Install the platform in a documented position and orientation
The platform is the standing surface, not a movable shelf. Use only a published position for the exact model, and follow the removal, rotation, groove, pin, screw, knob, clip, or latch method shown in its manual. Confirm that the platform is fully seated, level, supported on every required side, and secured by every named control.
Franklin+Emily publishes three platform positions secured with four 4 mm hex screws. Guidecraft manuals use model-specific platform supports and clips. CYBEX uses the compatible Lemo Chair footrest as the standing platform. Those designs do not share an adjustment method. Do not estimate a height, drill a new hole, reverse a panel, omit hardware, or set the platform between positions.
Complete every guard, entry, and anti-tip component
Identify what surrounds the standing area and what controls entry. Install every rear bar, strap, guard plate, protective ring, rail, dowel, net, panel, handhold, and step component required for the chosen configuration. Confirm its direction and engagement from the manual, not from how it looks in a product photo.
Sprout R4 uses a Guard Plate and twist-lock dowel, with child-height guidance tied to the guard configuration. Franklin+Emily requires its leather rear strap to face outward. CYBEX requires the protective ring in tower mode. Guidecraft Contemporary uses Clip A to lock the platform and Clip B for added stabilization. A missing or backwards component is a stop condition, not a cosmetic difference.
Set foldable and convertible mechanisms while empty
A folding or conversion mechanism creates multiple product states. Follow the exact opening, locking, conversion, and closing diagrams with the child out of the room. Keep fingers, loose clothing, cords, and nearby objects away from hinges, pivots, sliding rails, clips, and latch paths. Support the product only where the manual shows.
Piccalio instructs users to completely unfold and fully lock its foldable tower before every use. Ingenuity illustrates separate tower, table, and folded states. The CYBEX Training Tower is an accessory conversion installed on a compatible current-generation chair. Confirm one complete usable state rather than leaving a mechanism partly open, partly converted, or resting on a latch.
Run the final fastener and geometry pass
When the manual's sequence reaches final tightening, revisit every fastener in the prescribed order. Confirm the correct count, head, washer, cap, exposed-thread condition, and seating. Use a published torque only when the manufacturer provides one. Otherwise use the supplied hand tool and the instruction language. Do not keep tightening to eliminate normal wood variation or force a misaligned frame square.
Inspect the full geometry from front, rear, both sides, above, and floor level. Rails should meet the intended holes or slots, the platform should sit evenly, feet and stabilizers should contact the floor as designed, and no sharp edge, split, protruding fastener, trapped strap, pinched fabric, or interference should remain. Stop for rocking, twist, unexplained gaps, or controls that do not align.
Complete the empty-product placement and control check
Move the assembled tower using only an approved lift or carry method. Place it on the floor type and beside or away from nearby surfaces exactly as its manual requires. Clear the documented entry side, the supervising adult route, appliances, doors, drawers, cords, heat, water, sharp objects, and household traffic.
With the product empty, operate each documented lock, latch, platform control, fold, conversion, strap, dowel, clip, and guard once more. Verify that moving parts reach their complete intended state and cannot be mistaken for locked. Do not perform an improvised load, shake, lean, climb, or tip test. Manual coverage is not a hands-on stability result.
Document the finished setup and supervise first use
Photograph the full assembled tower from every side, each label, the platform supports, guards, straps, clips, latches, feet, stabilizers, and the final placement. Save the assembly date, manual revision, leftover exact hardware, retailer receipt, registration confirmation, support messages, and any manufacturer-approved replacement or recall-remedy evidence.
For first use, keep the task calm and short. Help the child approach from the documented entry side and remain close enough to intervene. Watch the platform, guard, step, feet, and controls without treating one uneventful session as proof of long-term performance. After the child exits, repeat the visual and hand checks named by the manual and recheck sooner after movement, impact, adjustment, or unusual feel.
Toddler tower assembly and first-use record
Save the evidence as you work. Do not mark a row complete from memory or from a similar product's instructions.
| Phase | Record | Pass condition | Stop condition |
|---|---|---|---|
| Identity | Product and packaging labels, seller, receipt, exact manual, recall search date | Model, item, revision, lot or date code, region, manual, and recall state agree | Missing label, wrong manual, unresolved related recall, or seller identity conflict |
| Parts inventory | Laid-out parts photo, count by manual label, damage photos, support ticket if needed | Every exact part, fastener, tool, and required accessory is present and undamaged | Missing, extra, substituted, split, bent, stripped, corroded, swollen, or misdrilled part |
| Frame assembly | Step-by-step photos and the manual page used for each major joint | Parts meet in the documented orientation without force or added materials | Cross-threading, forced alignment, new hole, added glue, generic hardware, or sequence conflict |
| Platform and guard | Position, supports, fasteners, clips, strap or dowel direction, child-height rule | Every required support and guard control is seated, secured, and oriented as documented | Intermediate height, unsupported edge, reversed strap, omitted control, or incompatible accessory |
| Mechanisms | Open, locked, converted, and stored-state photos plus control locations | The empty product reaches one complete documented state with every control engaged | Partial fold, ambiguous latch, blocked control, pinched part, or state not shown in the manual |
| Placement | Floor, work surface, entry side, adult route, doors, drawers, appliances, and hazards | The exact manual's floor and surface rules work with a direct supervision route | Uneven contact, wrong orientation, blocked entry, heat, water, cord, sharp, traffic, or tip hazard |
| First use | Finished photos, assembly date, registration, support records, post-use inspection | The child uses the documented entry and the adult can see and reach throughout | Unexpected movement, sound, loosening, damage, control change, or inability to intervene |
Finish the exact-model setup
Toddler tower assembly FAQ
Can I assemble a toddler tower without the manual?
Can I use a power drill to assemble a toddler tower faster?
How tight should toddler tower screws be?
What should I do with extra hardware after assembly?
Should I shake or climb on the tower to test it?
When should I recheck the hardware after first use?
Method and Sources
How this page is checked
- Manual counts are rendered from the normalized supportability record for every selected model. A product page does not count as an exact assembly manual.
- The mechanism count includes selected foldable and convertible products. Each has a linked manufacturer manual, but the documents remain model-specific and are not merged into one assembly sequence.
- Example checkpoints are paraphrased from exact manufacturer manuals already accepted into the catalog. No torque, hardware substitution, stability result, or universal tightening sequence is inferred.
- Assembly completion is not a recommendation, certification, independent test, or proof of correct physical execution. Hands-on verification remains a separate gate.
Sources
- Guidecraft Contemporary Kitchen Helper instructions
- Piccalio Foldable Helper Tower assembly manual
- Sprout Sous-Chef Toddler Tower R4 assembly instructions
- Franklin+Emily Toddler Tower assembly and care instructions
- Ingenuity Table-to-Tower 2-in-1 Step Stool owner's manual
- CYBEX Lemo Training Tower Set user guide
Keep reading
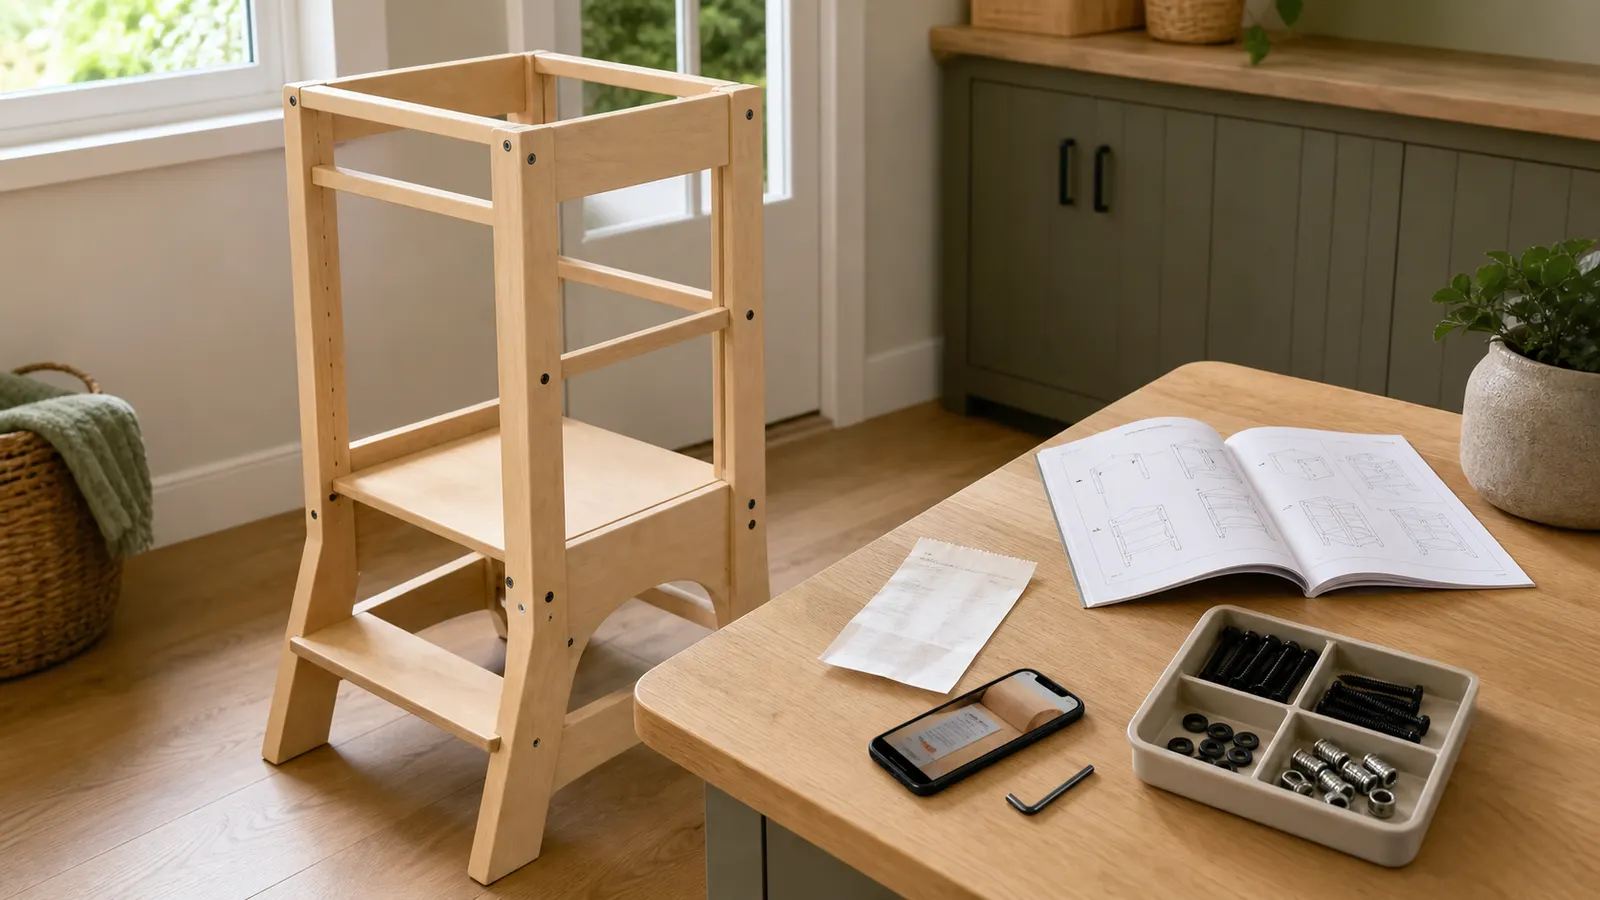
Toddler Tower Warranties, Replacement Parts, and Support
Check a toddler tower's exact manual, warranty scope, replacement-parts route, product registration, and manufacturer support before buying or requesting a repair.
Read next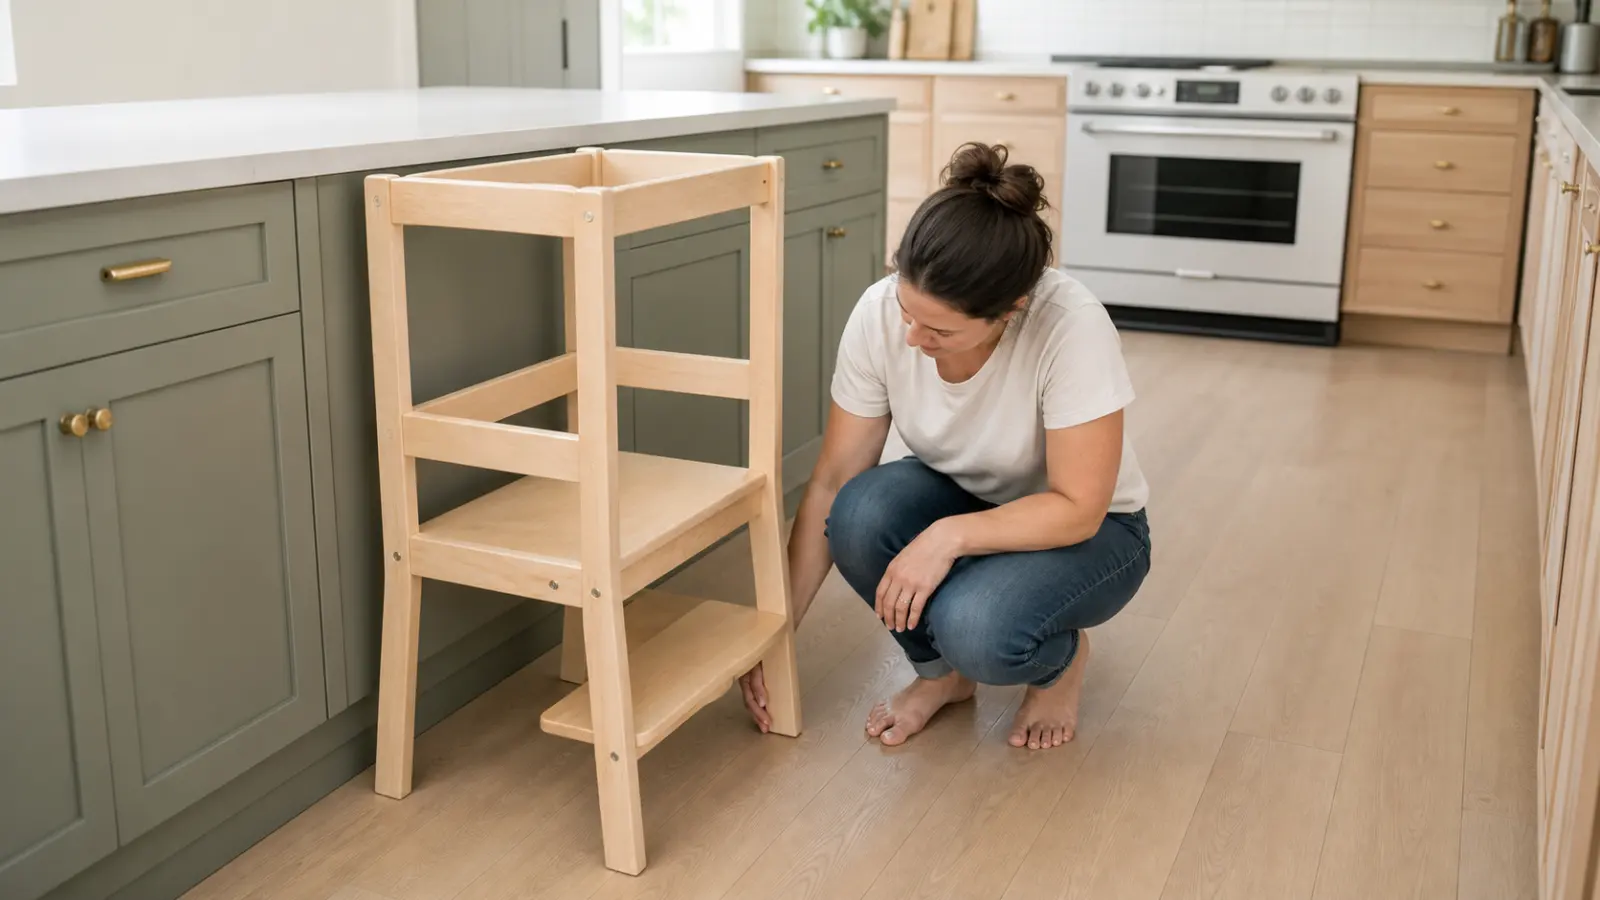
How to Use a Toddler Tower Safely in the Kitchen
A room-first toddler tower safety guide covering exact-manual placement, active supervision, cooking and cord exclusions, entry and exit, wet floors, and stop-use checks.
Read next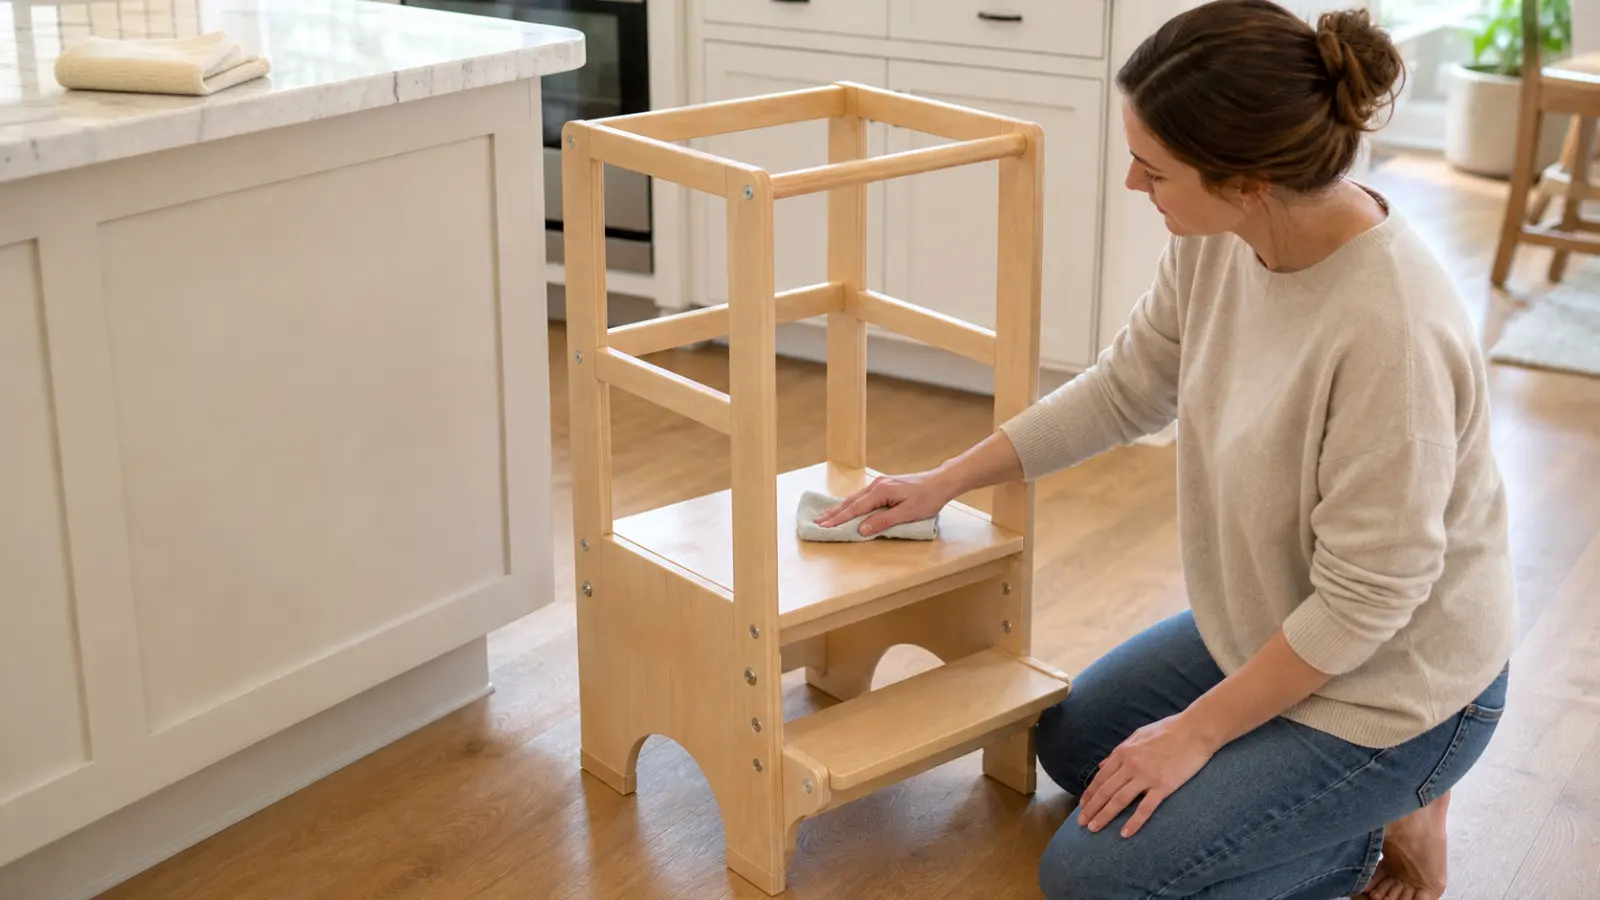
How to Clean and Maintain a Toddler Tower
A model-specific routine for cleaning toddler tower surfaces, drying spills, checking hardware and locks, and recognizing damage that should stop use.
Read next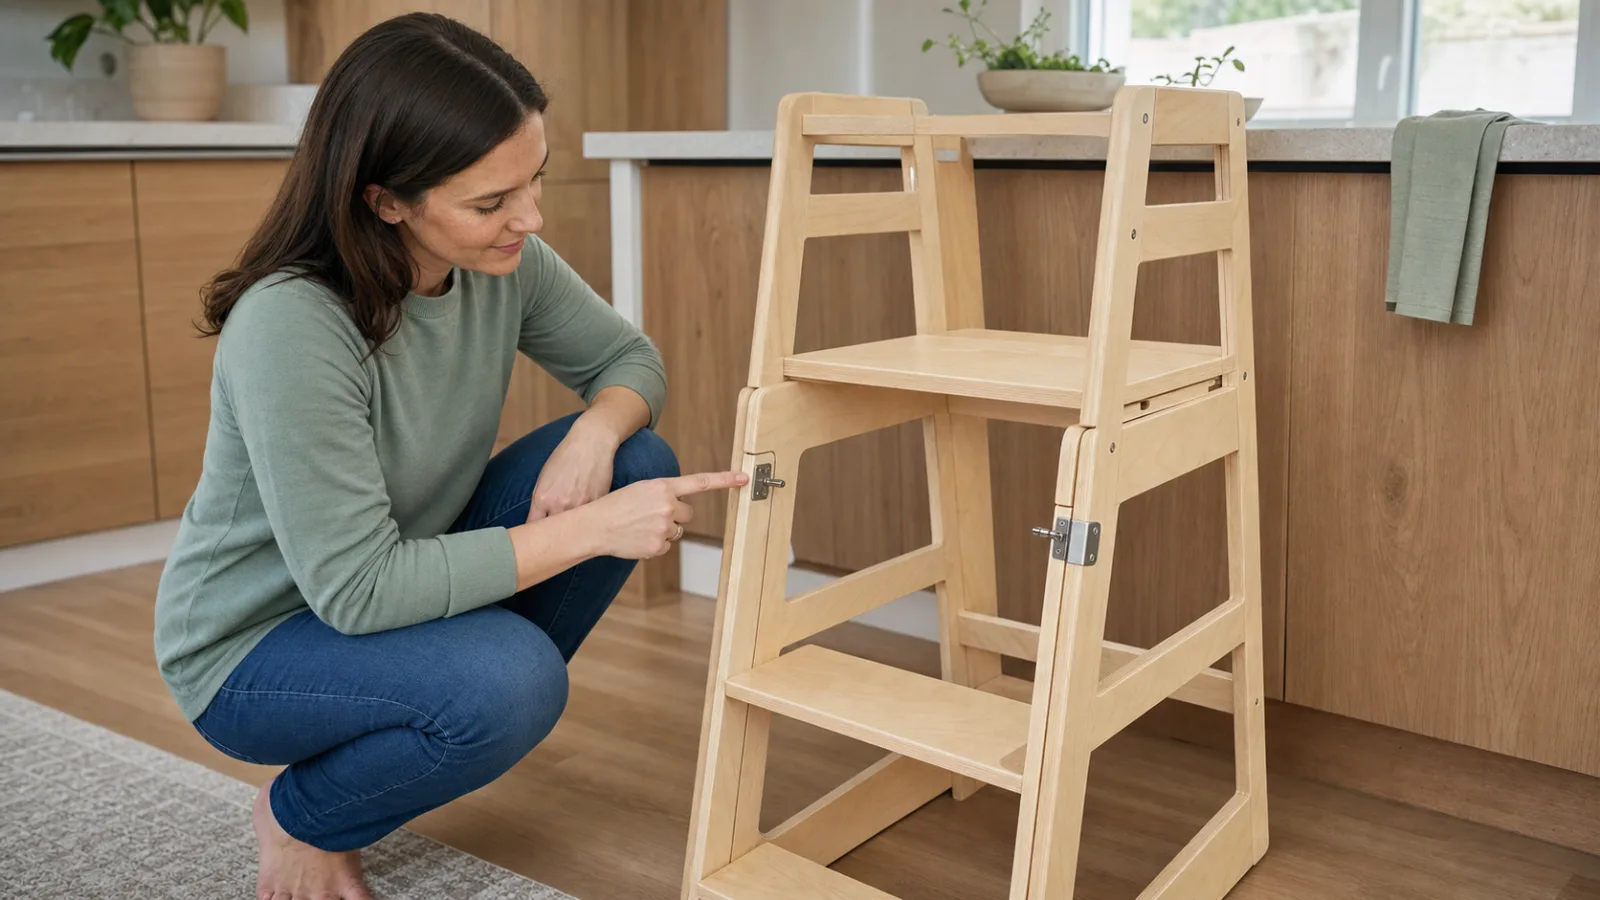
Foldable Toddler Tower Safety: Lock and Setup Checks
How to identify every lock in a foldable toddler tower's manual, check the empty setup before use, recognize stop-use conditions, and interpret folding-related recalls.
Read next